
For teachers. Organisation and best practices
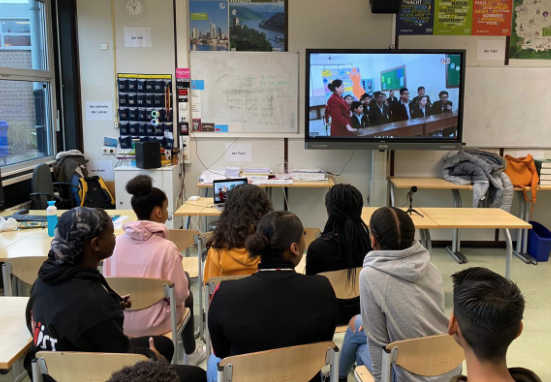
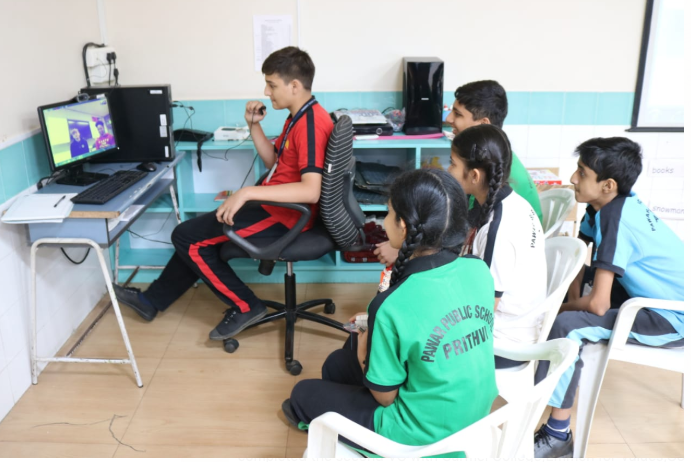
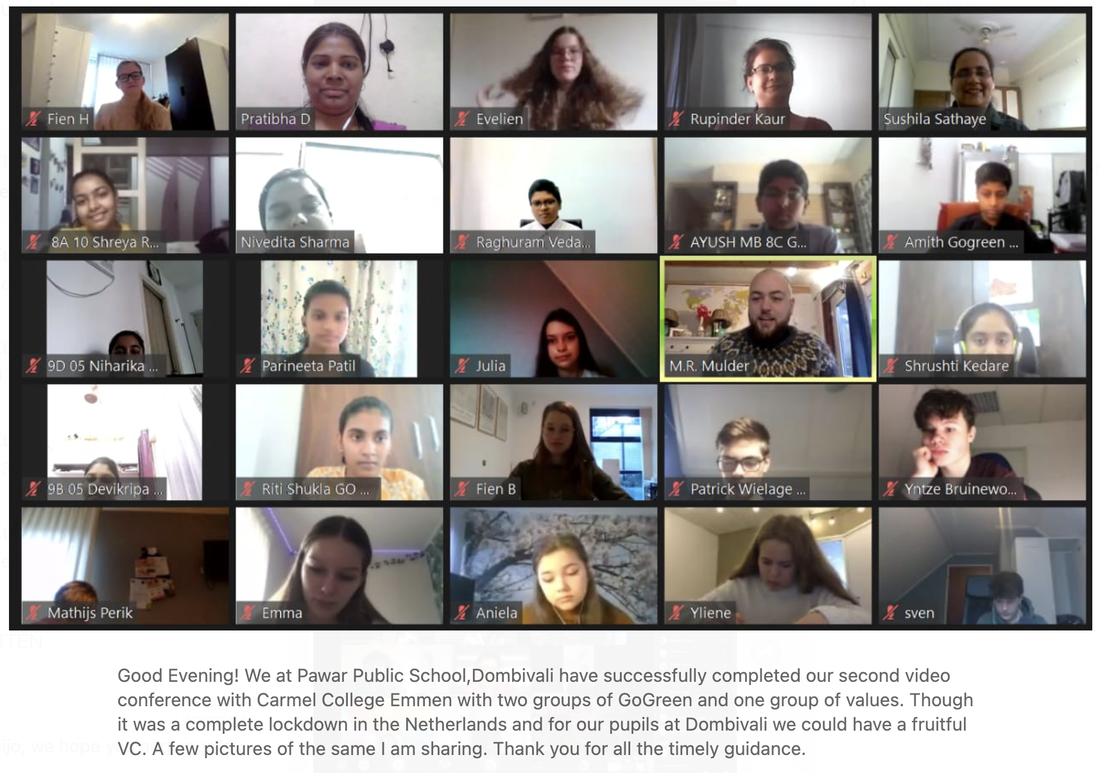
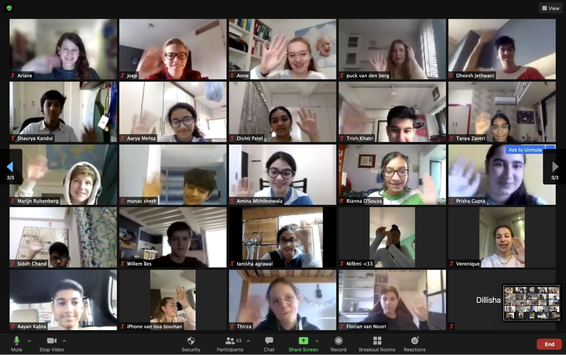
Video conference at school or from home. Some impressions
|
|
|
|
How to prepare a Video Conference
Step 1
Negotiate with your partner school about a time slot and confirm the proposed match to each other.
Agree on the platform: Zoom.us, Teams, others
Agree who will be host of the video conference.
Make sure that you have each others phone number so that you can call or send message in case of technical problem or delay.
Agree on the agenda of the video conference
Step 2
Tell how many groups will attend and which topics will be covered.
Agree on the agenda (with list of groups and topics) and who is going to moderate
Step 3
Preparation. IMPORTANT: make sure that you always do a technical test before the real VC. The test VC can be done at own school with 2 computers connected.
Step 4
Preparation. Content and presentation skills
Make sure that every group member says something and that the tasks are clear for the group members.
Step 5
Video conferencing
Technically
Switch your mobile on (in case of emergency)
Log on 10 min. before the start of the VC.
Connect with one computer connected to a projector or smart board so that the students can follow the VC on big screen. You need a computer or laptop with webcam and microphone (often built in) and you need sound boxes / speakers.
Students of the presenting group will come forward to the webcam / microphone.
It might happen that a school gets disconnected during the VC because of network or bandwidth problem. If that happens, be patient and stay online. The partner school will try to connect again. (and send text message / whatsapp)
Moderator
One school is moderating.
Ask a colleague or student as timekeeper. Try to have about 20 minutes for free interaction.
Position: take a seat next to the computer/laptop so that you can be heard very well.
Screensharing of the agenda. Screensharing is possible with Skype and Zoom. This can be done at the beginning of the VC showing the order of the groups. If this is too complicated, you just tell the order of the groups at the beginning of the VC.
If there are connection problems, don’t panic.
Recording (only for Zoom.us). You can record the session as a whole or in parts. The recording will be saved on your computer.
You can share the recording with the other school by transfering the file via We Transfer
Mute your microphone
Mute your microphone when the students of the other school are presenting. It is annoying for your partner if they hear your students talking or commenting or if there is other noise in your class room.
Best practices
Best practice 1. Using break-out rooms (of Zoom) for EUMIND videoconference
Why break-out rooms
Instead of having all students in one room, every research group waiting for their turn behind the one camera, we asked students to join from their own device. It proved to be a worthwhile choice, since there was so much more interaction possible!
As a host, I created break-out rooms and assigned every student to the right room, while my colleague introduced the program. This way, every research team (5 Dutch students and 5 Indian students) had their own private space.
Programme
The meetings consisted of a great deal of research time. Below, you will find our two agendas. The first was mostly to get to know each other, the second was fully focused on our research.
In the agenda, you can see that we thought it important to get the research teams back into the main room a couple of times, just to check in with them. The host can also hop by in every room. Whilst students are in break-out rooms, there is some ‘private’ time with colleagues from another country. In other words, some time to chat with your colleagues!
Crucial requirements:
- A working device per student (if necessary, phones are ok too),
- A headset/headphones with a microphone per student,
- Enough space, we used the auditorium. We created 5 groups with chairs and tables, as long as everyone mutes him- or herself while others talk, there are no audio-problems. Students can also work from home or use different classrooms.
- As a host, allow students to share their screen in the meeting settings.
Program VC1: JNIS/RIJNLANDS
10 minutes (all together): introduction, Jeffrey and Steffanie
30 minutes (breakout rooms): per subgroup, students can ask each other questions about the research. Share findings. Make sure you find out what the other end (Indian or Dutch counterpart) found out! There is also time for non-topic related small talk, but first, you should compare your research.
20 minutes (all together): wrapping up, sharing experiences based on talk in breakout rooms. One person per room briefly highlights the group’s findings.
Program VC2: JNIS/RIJNLANDS
10 minutes. Time in big room: Welcome / introduction
20 minutes Time in breakout rooms, per topic Presenting reports. One Indian and one Dutch student share screen.
5 minutes. Time in big room: troubleshooting with teachers
25 minutes. Time in breakout rooms, per topic
Find out about the strong parts of your report and the weak links
10 minutes. Time in big room: goodbyes
Jeffrey Ducaat
RijnLands Lyceum Oegstgeest
Best practice 2. A quiz as a way to enhance communication and to compare findings more effective
Why a quiz in a project?
- In the On-Stage project the students have to learn very well about the topic of the other country. They write a script of a TV show where they present a topic related to the other country and they perform and record that TV show. E.g. Indian students perform a TV show on the Dutch food. For the Comparison stage, the Indian students need to find out whether the Dutch students have studied the topic Indian food well.
- Connection issues and difference of accents may cause wastage of time. Organizing small quizzes for each group would avoid this wastage of time and make the comparison most effective. The students can read the quiz questions and the options and answer either verbally or in the zoom chat.
Preparation
- Teachers explain the importance of the comparison to students. If the group scores 5/5 in your quiz, it means they have studied your country’s topic very well. If they score a 3/5, it means they have partly studied, and, if they score 1/5 it would mean they haven’t done a good job at knowing the other country.
- Each group prepares a PPT of 5 questions each on their respective topics. E.g. Local foods of India, local games of India, local festivals of India, School Culture, Wildlife and Nature of India.
Rules
- Use the main Room of Zoom so that all could witness and benefit from the Q+As.
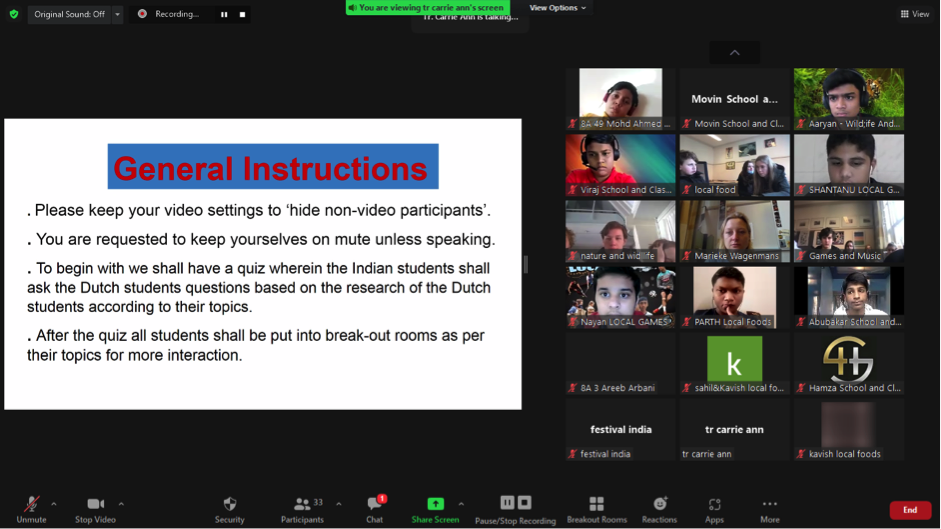
- In the main room, one teacher gives the general instructions. One teacher keeps time and another keeps the scores.
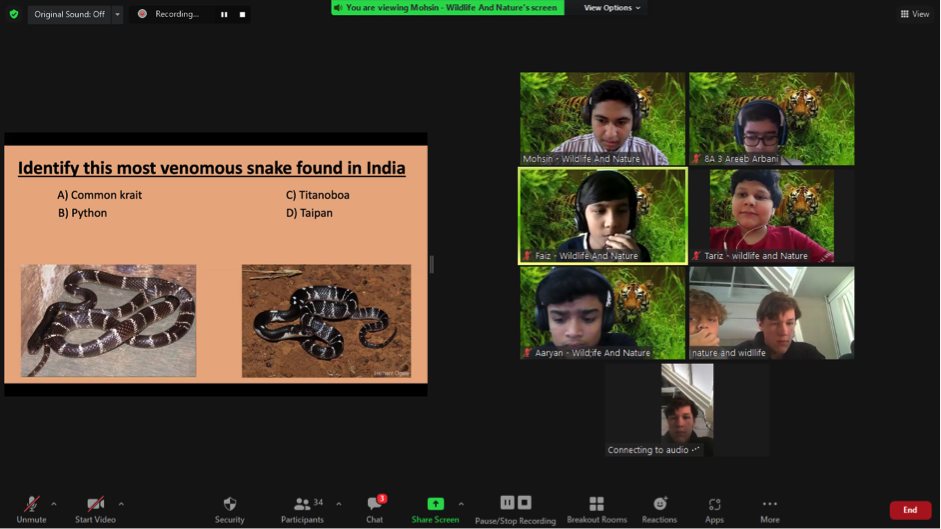
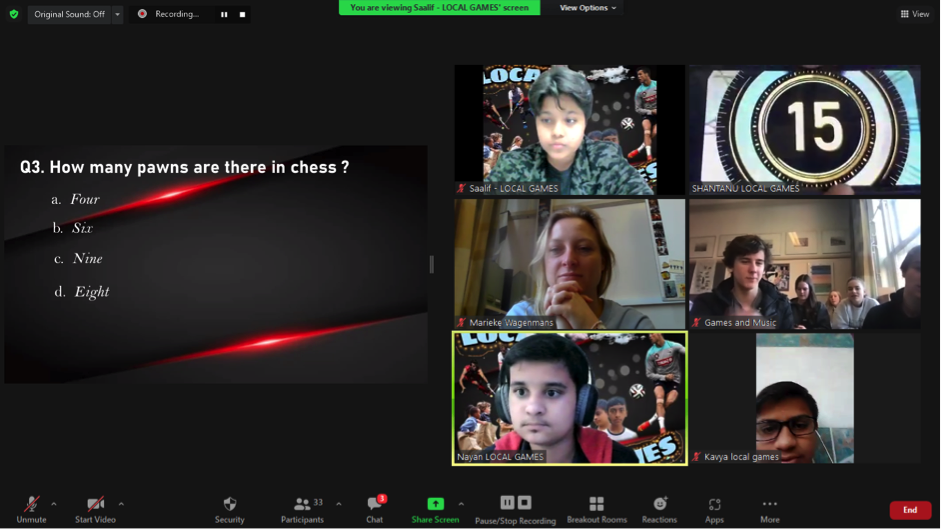
- Use the ‘Hide Non- Video Participants’ feature on Zoom. This allows the main groups ‘asking and taking’ the Quiz to be visible on screen while all other participants are not visible, yet be present.
- Set a time limit. E.g. 30 sec for each question and a pool of 25 questions to be completed in 30 min.
- Each sub-group allots a Quiz-master, a time-keeper and a score-keeper for its group. The other 2 students are also ready to take over as back-up in case someone’s network fails.
Agenda
- Welcome, introduction of agenda (timing) and explanation of rules and settings. (5 min)
- Main Room – Quiz: The Teacher timekeeper gives turns. Topic 1. E.g. Food. Two groups switch on their cameras. (6 min / group = 30 min) Indian Group Food (alternatively Dutch) shares its PPT with 5 questions. Dutch students (alternatively Indian) answer verbally or in the chat. Student timekeeper shows an online timer. Student Scorekeeper announces the score for the team. We move on to the next Topic 2…. and follow the same procedure.
- After the quiz, the students are put into Break out rooms for freer interaction and free discussion. (10 min)
- For the closure students are brought back to the Main Room. (5 min)
Technical requirements.
- Zoom with unlimited time feature
- Activate share screen to allow students to show the PPT
- Activate breakout room option
- Activate ‘Hide Non-Video Participants’ on video settings. This allows two groups with the same topic ‘asking and taking’ the Quiz to be visible on screen while all other participants wouldn’t be visible, yet be present.
- Each student renames himself/herself with first name and Group name.
- If possible students put a virtual background of their group topic, e.g. Group food with a food photo as their virtual background. It is easier for the host teacher to 10 minutes identify the students and to put them into breakout rooms.
Evaluation
Mehjabeen Bagasrawala (Teacher Coordinator- St. Mary’s High School S.S.C.)
See also pictures below.
- The students of both the schools were comfortable with each other and they were freely asking questions and answering them with confidence.
- Each group has highlighted the scores of the Dutch group and evaluated their findings based on the input given earlier on their Weebly pages.
Mehjabeen Bagasrawala (Teacher Coordinator- St. Mary’s High School S.S.C.)
See also pictures below.
| a_quiz_on_zoom.docx |
|
Agenda. Introduction.
Main Room. Slide with instructions |
Main Room in the Zoom session. (Using the ‘Hide Non-Video Participants’ Feature). Slide with question for Dutch students.
An online timer- It’s a student’s phone displaying the timer. |
Main Room in the Zoom session. (Using the ‘Hide Non-Video Participants’ Feature).Slide with question for Dutch students
|
Main Room.
Closure 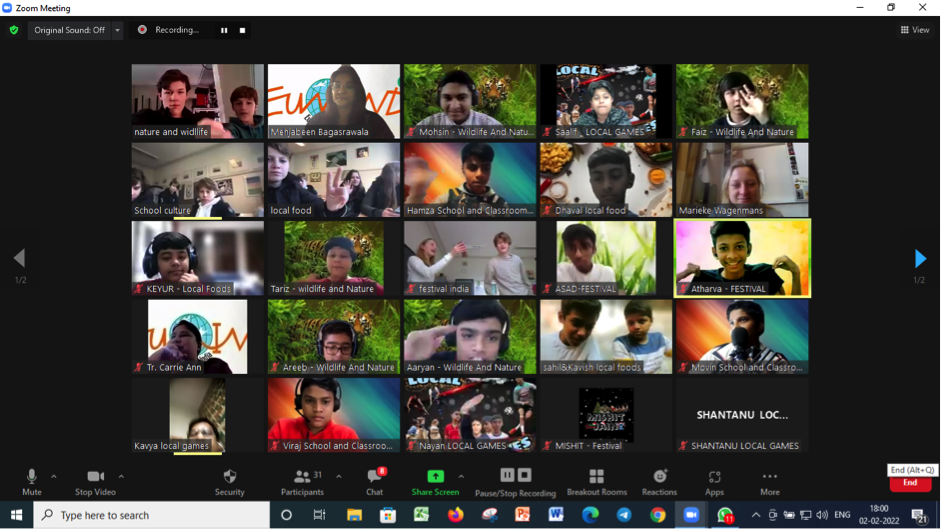
|
